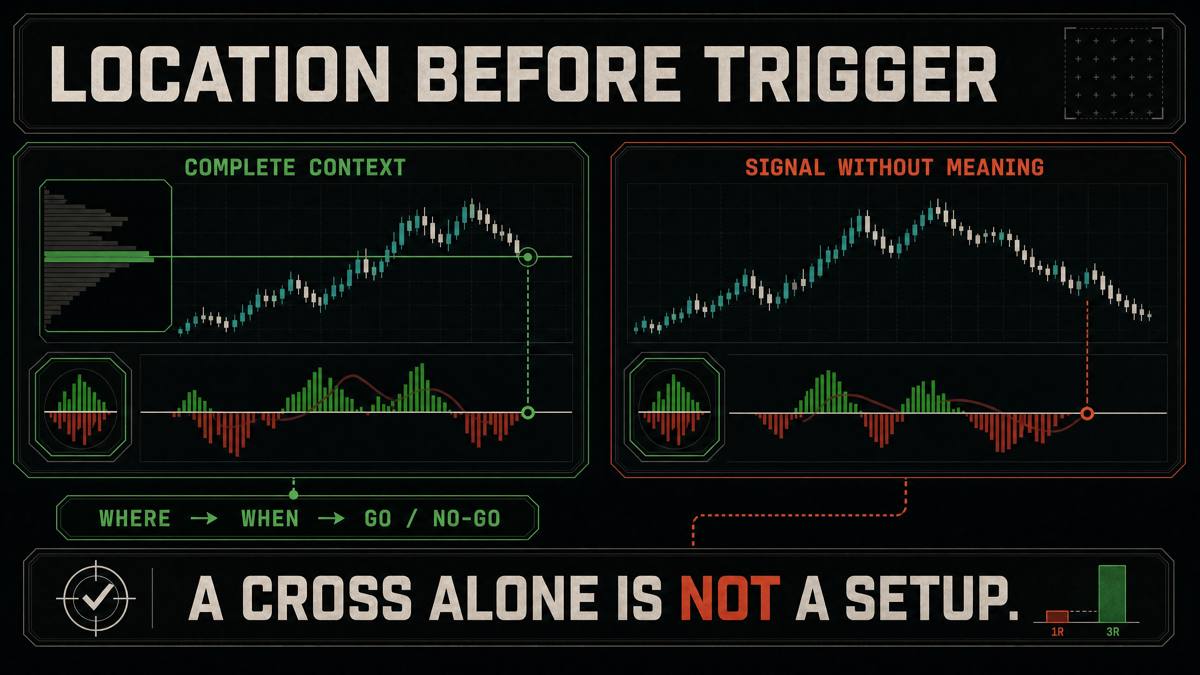
Read every playbook in the same order
Start with the market condition, then check Volume Profile, QPulse, Flow Pro, structure, and reward-to-risk. The sequence prevents a trigger from becoming a permission slip.
- 01Environment
Confirm the value-area overlap, profile shape, trend, and activity fit the setup.
- 02Location
Identify the exact POC, value edge, supply or demand zone, or naked POC.
- 03Trigger
Wait for the QPulse zero-line condition at that location.
- 04Participation
Require Flow Pro activity in the same direction.
- 05Risk
Place the stop beyond structural invalidation and require the documented 3:1 gate.
POC bounce long
Use this setup when price returns to an accepted value center from above and the environment supports rotation or upward value migration.
| Gate | Required evidence | Reject when |
|---|---|---|
| Environment | Inside or partial value-area overlap | No-overlap trend day is driving through value |
| Location | POC with nearby demand or HVN support | Price is away from POC |
| Trigger | QPulse crosses negative to positive at the level | Entry window is already late |
| Participation | Green activity builds; flow is not flat | Flow Pro stays dead or balanced |
| Risk | Stop beyond POC structure; targets at VAH or the next profile level | Available reward cannot clear 3:1 |
Demand-zone reversal long
Use this setup after a defined selloff reaches a documented demand zone and separate evidence shows that selling pressure is exhausting.
Demand is the location
Look for a demand-zone cluster, buy-dominant rows, or a nearby unfinished auction.
Exhaustion becomes timing
A cross from deep negative territory is useful only because it occurs at the planned zone.
Buyers must appear
Require selling activity to fade and directional buying participation to build.
The zone must fail cleanly
Place invalidation beyond the zone or the last structural low; target the next profile levels.
Supply-zone rejection short
This is the short-side mirror: price reaches supply, buying fades, sellers appear, and the higher-timeframe structure permits the trade.
Mark the supply boundary, sell-dominant rows, and any nearby poor high before the trigger.
Require QPulse to cross from positive to negative inside the entry window.
Require red Flow Pro activity instead of assuming that resistance must hold.
Place invalidation above the supply zone or the structural high.
Use POC, VAL, or the next demand zone as planned targets only when the math clears the risk gate.
VAL bounce long
Use a VAL bounce as a rotation setup on balanced or upward-migrating value days, not as a reason to fade a strong no-overlap trend.
| Question | Read |
|---|---|
| Does the day fit? | Inside overlap is strongest; partial overlap can work when value migrates upward. |
| Is price at VAL? | The trigger belongs at the value edge, not several candles after the reaction. |
| Is participation present? | Moderate directional activity must replace flat or dead flow. |
| Where does the idea fail? | Below VAL or the nearest structural/LVN boundary. |
| Where is value? | POC is the conservative rotation target; VAH is the wider scenario. |
Naked POC magnet
A prior untouched POC can define a destination scenario. It is not a promise that price must fill the level on your schedule.
Identify the untouched level
Confirm the prior POC has not traded again and note whether several levels cluster.
Trade toward, not because of, the magnet
Require structure, QPulse, and Flow Pro to align with the route toward the level.
Keep a real invalidation
The destination does not cancel the stop behind the opposing profile level.