Handbook / STS — the Sage Trading System
How the Sage Trading System works
Three tools, two charts, one rule. The big picture of STS, step by step.
In one sentence
STS uses three tools on two charts, and one rule: if the reward is big enough and the tools agree, take the trade; if not, sit.
Why it matters
STS is how Sage picks day trades. It was built for fast charts, and he trades it on 1 to 5 micro futures contracts.
Most new traders use too many tools. They get mixed signals and freeze, or they guess. STS gives each tool one job. You check them in the same order every time. That makes your choices calm and repeatable.
Do this
STS runs in one order: location first, then timing, then activity, then risk. A later step can never fix an earlier step that failed.
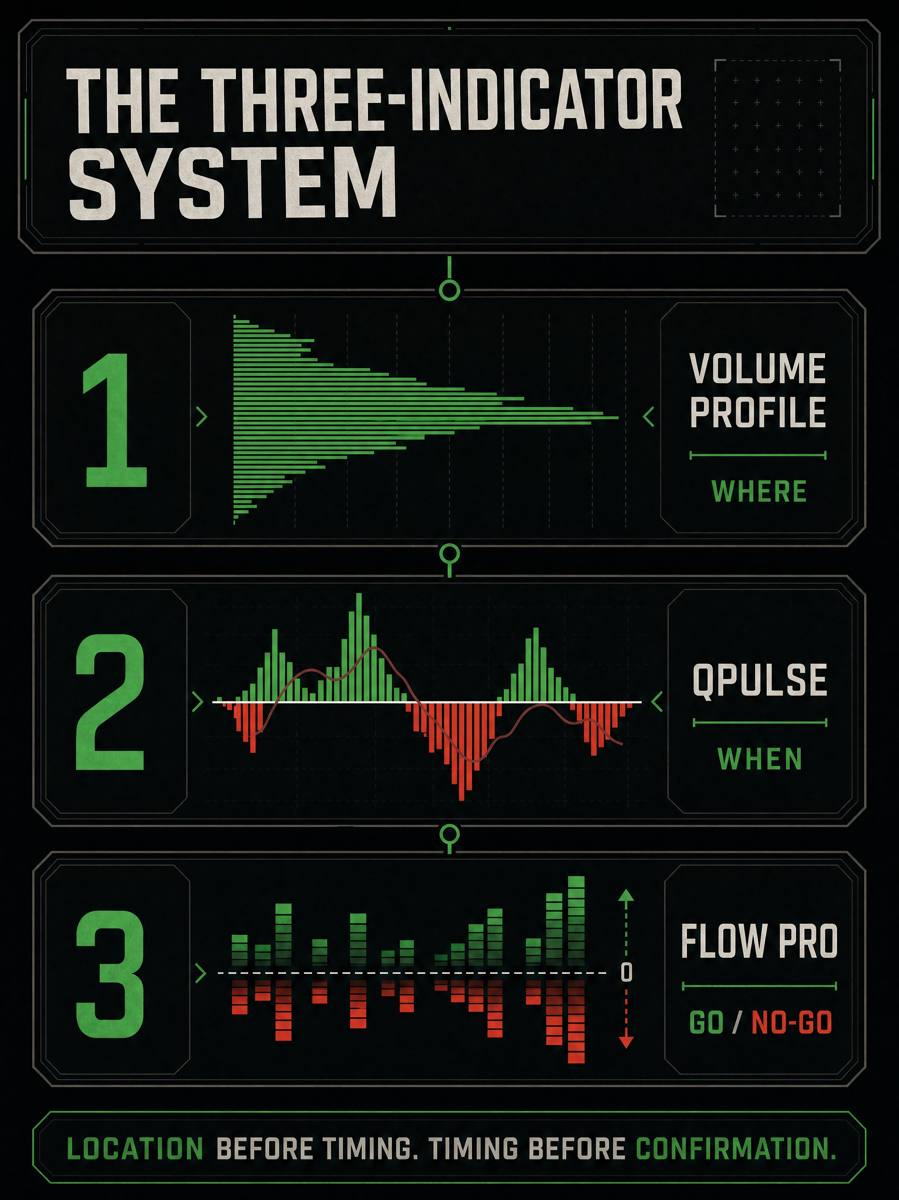
- Where (location). Find a price level that matters, using Volume Profile. See Step 1: Where.
- When (timing). Wait for QPulse to cross its zero line near that level. See Step 2: When.
- Go or no-go. Check Flow Pro. If it shows no real buying or selling, do not trade. See Step 3: Go or no-go.
- Is it worth it? (risk). The target should be at least three times as far as the stop. If not, pass. See Step 4: Is the trade worth it?.
At every step, the 15-minute chart must agree with your 3-minute trade — see Two charts.
If all four steps pass and both charts agree, you may enter. If even one is missing, you wait for the next setup.
Real example
This diagram shows the three tools and their jobs. It is a teaching diagram, not a real trade.
In Sage's words, from his STS notes: "The system isn't about being right. It's about the math being right."
Common mistakes
- Starting with the timing tool. A QPulse cross in the middle of nowhere means nothing. Find the level first.
- Skipping the go or no-go check. Trading when nobody is really buying or selling is the top account killer.
- Taking a trade because three of four steps look good. Three out of four is a no.
- Adding more tools. STS works because it is simple. Three tools, two charts.